CFB 26
Every Offense Explained | College Football 26
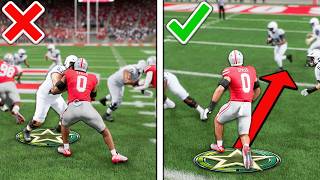
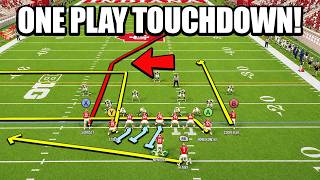
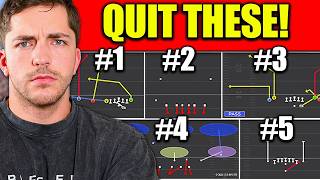
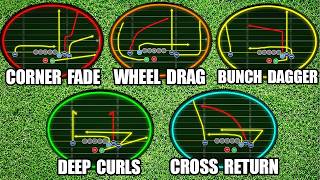
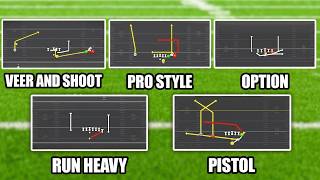
College Football 26 has five offense types, but Pro Style dominates competitive play using Oregon State's playbook with formations like Bunch A Strong Offset that put three receivers on one side. Veer and Shoot works well with spread formations and RPO Trap Alert Screen reads, while Option is risky due to fumbles. Master 3-4 plays per formation instead of calling random plays to win more games.